Installing Tool
Importing Package
Download NOA Debugger from Unity Asset Store and import it into your Unity project.
Note: NOA Debugger is provided via UPM, so it will be imported under the Packages folder.
Initializing Package
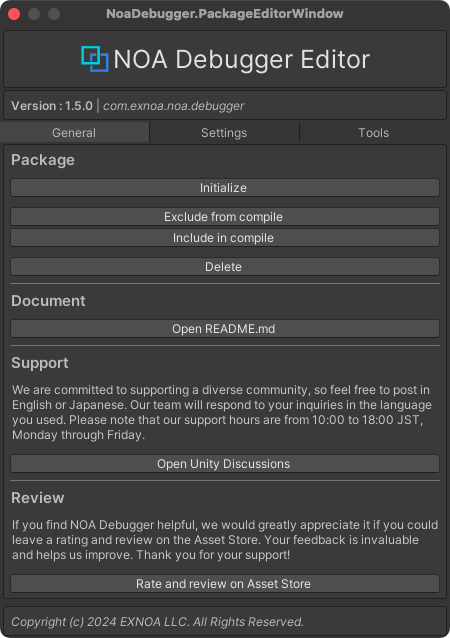
Initialization of the package is done using the NOA Debugger Editor.
You can launch the NOA Debugger Editor by selecting Window -> NOA Debugger from the Unity menu.
Once the NOA Debugger Editor is up and running, execute Initialize in the Package item.
You can confirm that initialization is complete if NOA_DEBUGGER has been added to the Scripting Define Symbols in the PlayerSettings settings items.
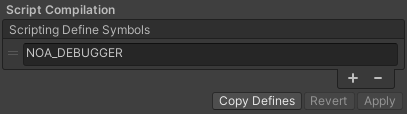
Note: For BuildProfiles that override the PlayerSettings within the project, symbols will be added to the ScriptingDefines.
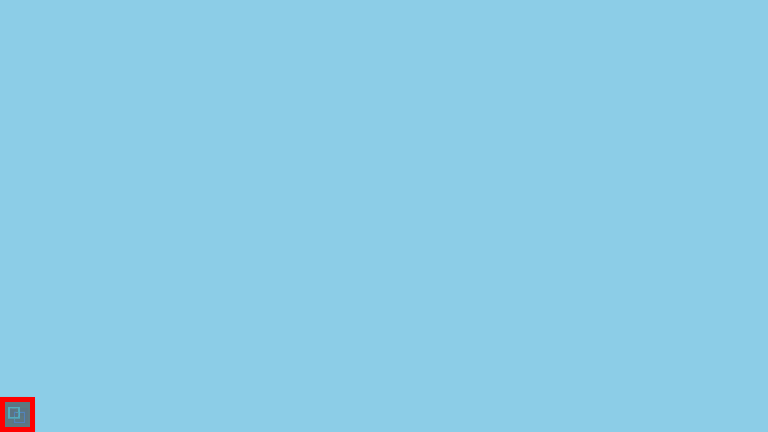
Please play UnityEditor and confirm that the NOA Debugger launch button is displayed.
If it does not work properly even after initialization, please execute Delete in the Package item of NOA Debugger Editor and start over from the package import.
Updating Package
When updating the package to the latest version, please go through the import and initialization procedures mentioned above again.
How to Completely Remove the Tool
To completely remove the tool, please follow the steps below.
- Execute Delete from the Package section of NOA Debugger Editor
- Close the Unity Editor
- Access the following path using Explorer (Finder)
<path-to-project>/ProjectSettings/NoaDebuggerSettings.asset - Delete the
NoaDebuggerSettings.assetfile
Note: If you are reimporting the package, the steps to delete the configuration file (steps 3-4) are not necessary.